Jest is a JavaScript testing Framework which focuses on simplicity. It works with Babel, TypeScript, Node, React, Angular, Vue, and more projects. Jest tests are only local and are saved and run independently of Salesforce. Jest tests are fast as they don’t run in a browser or connect to an org.
Set up Jest Test Framework:
To test Lightning Web Components, we need to do the following prerequisites to set up the environment.
- Open Visual Studio Code Project.
- Use below link to install Node.js and npm. When Node.js gets installed, npm also installs.
- Node.js – LTS (Long-Term Support) version is recommended
- Generally, Salesforce DX Project does not have a package.json file. Execute the following command from the terminal of the Visual Studio Code. It will create package.json file in the project directory. After execution, system will be asking the project information; keep the defaults and the press Enter key until package.json file has been created.
- npm init
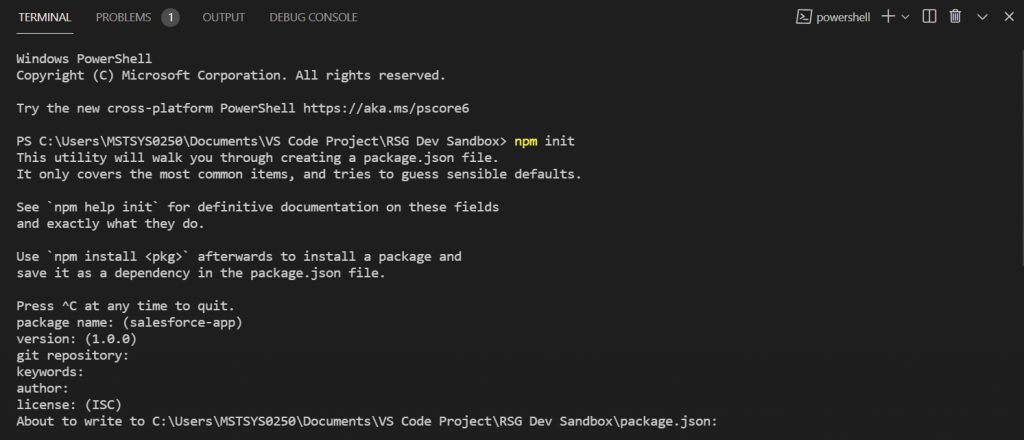
- Execute the following npm commands at the top-level directory of your Salesforce DX project:
- npm install
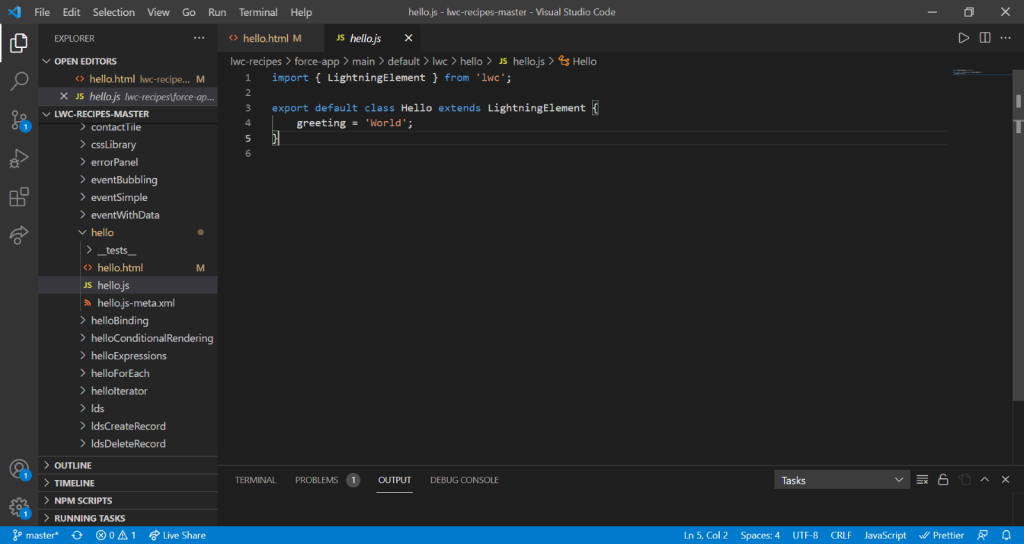
- Then run below command to install sfdx-lwc-jest and its dependencies into each Salesforce DX project. sfdx-lwc-jest works in Salesforce DX projects only.
- npm install @salesforce/sfdx-lwc-jest –save-dev
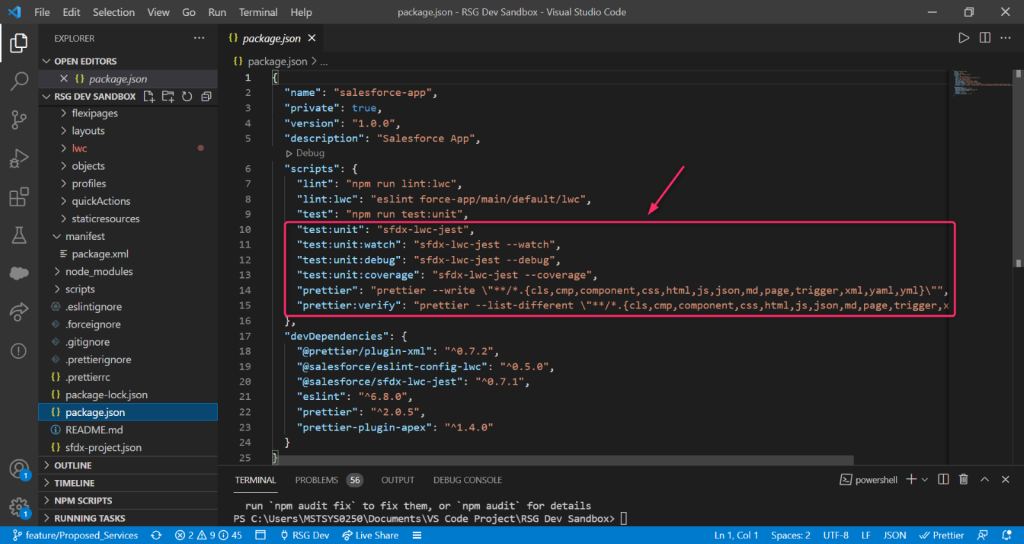
- By default, an SFDX project includes these script entries in the scripts block of its package.json file. If the project’s file doesn’t include, add them.
Write a Basic Test:
- In Visual Studio Code, right click on the hello directory and select New Folder.
- Name the folder as “__tests__” and press Enter key to proceed.
- After that right-click on the __tests__ directory, select New File.
- Name the file as “hello.test.js” and then press Enter key.
- Hello LWC component looks like below,
- hello.html

- hello.js

- Write the following code into the new test file,
All tests must use below structure,
- Imports:
- First, test the imports with createElement method and is available only in tests. The code should import the component to test, which in this case is c/hello. Using these imports, the component under test is created later.

- Cleanup:
- The Jest afterEach() method is used to reset the DOM at the end of the test. Every test file has a single instance of jsdom, and changes aren’t reset between tests inside the file. As a best practice, it is important to clean up between tests, so that one test’s output doesn’t affect another test.

- Describe() block:
- A describe block() determines a test suite. A test suite has one or more tests that belong together from a functional point of view. For hello.test.js, a single describe is sufficient.

- it() block:
- A single it() block describes a single test.

- Asserts:
- Get the elements from DOM using querySelector() method. Use expect statement which is an assertion of the results. Jest supports lots of matchers like toBe and toMatchObject. Please check all the methods using below link,
- https://jestjs.io/docs/en/expect
Note:
For more complex components, it makes sense to have several describe blocks that group things into categories like error scenarios, empty input, wired data, regular data, and so on. See the below screenshot for reference.

Run the Test:
- In Visual Studio Code, click on Terminal > New Terminal. This opens a terminal in Visual Studio Code. The terminal defaults to the current project top-level directory.
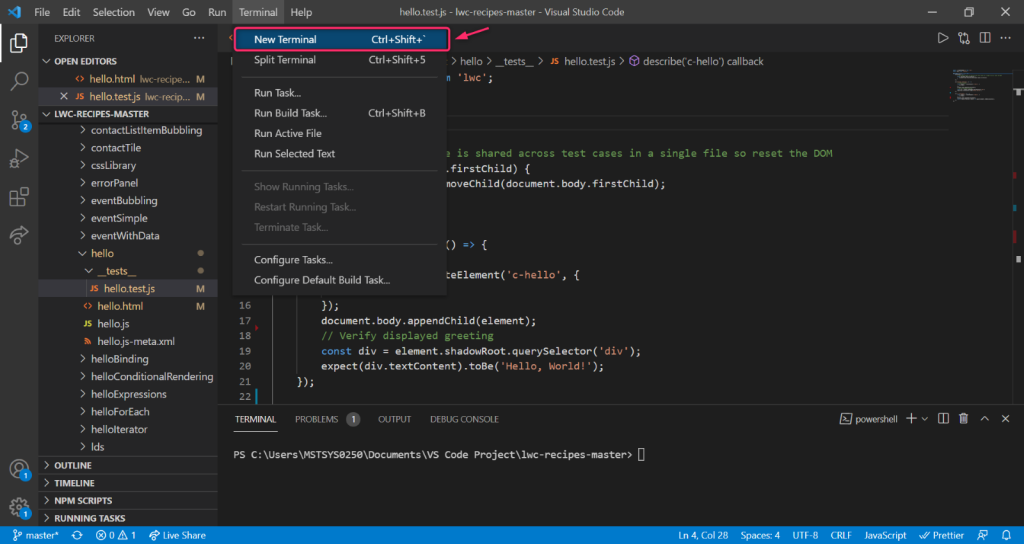
- Execute the following command in the terminal,
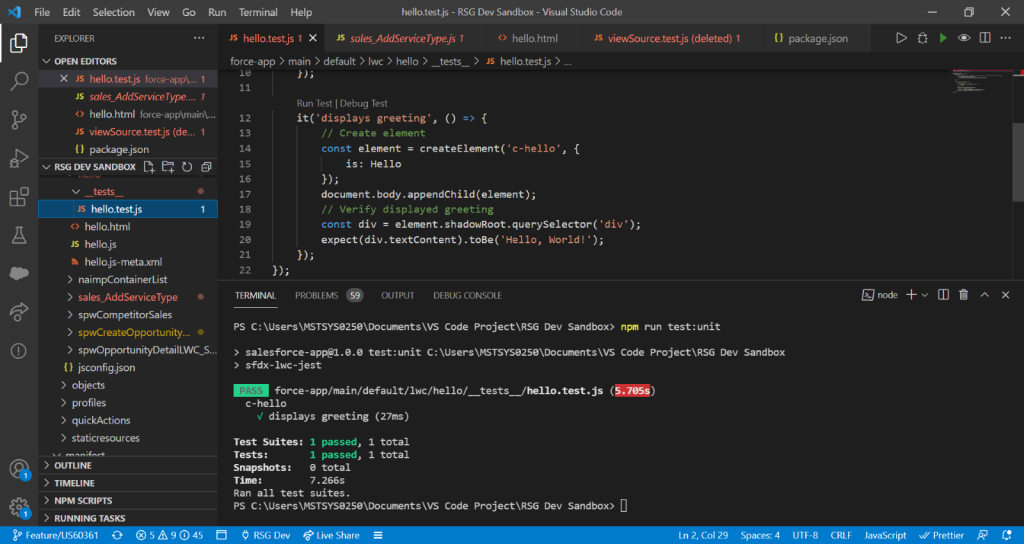
- npm run test:unit
- The test Passes. (Refer below screenshot)
Run Tests Continuously During Development:
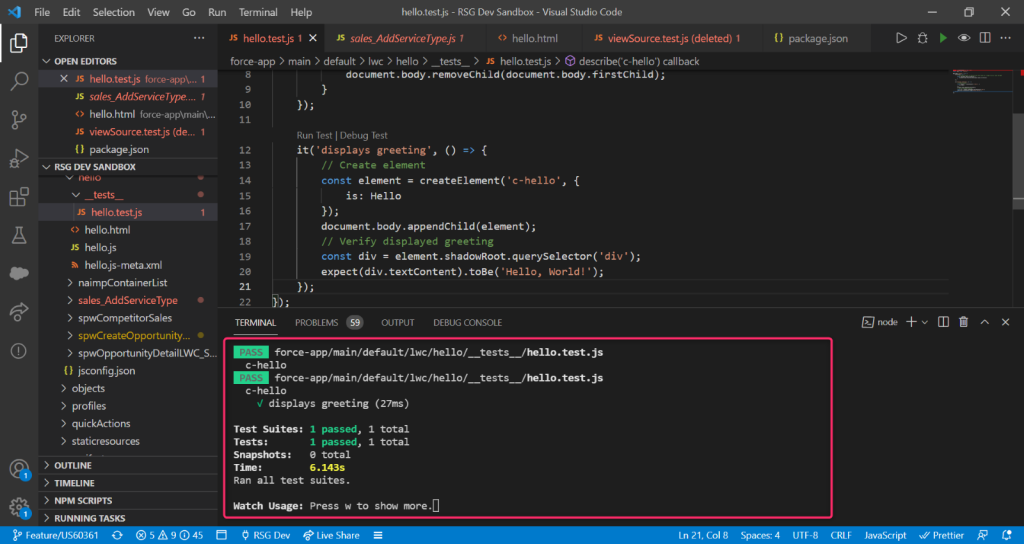
For a single component each time you save changes, to run all tests, change directories to the component directory and run the sfdx-lwc-jest command with the watch parameter.
- npm run test:unit:watch
Run Tests in Jest Debug Mode:
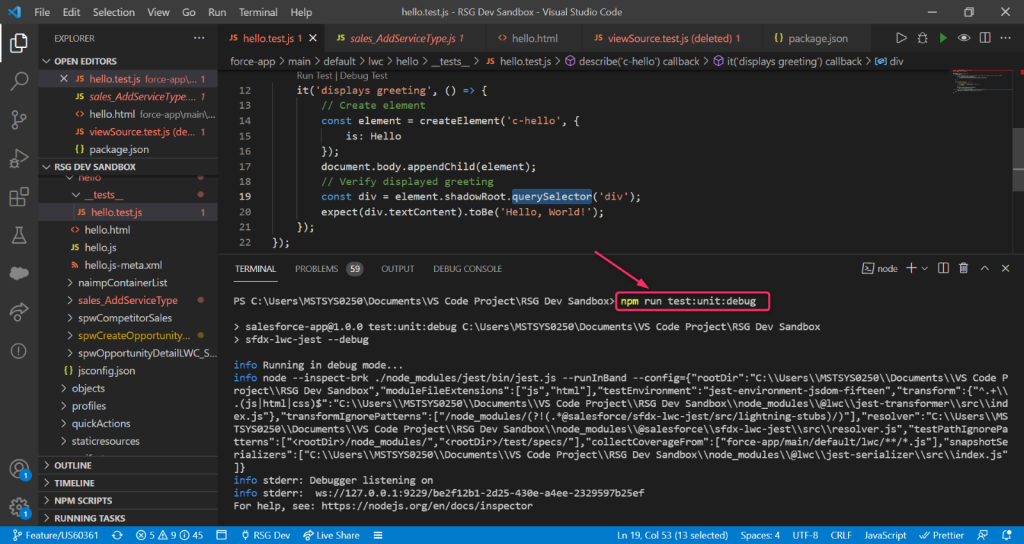
To run the project’s Jest tests in debug mode, run the sfdx-lwc-jest command with the –debug parameter.
- npm run test:unit:debug
Conclusion:
Jest test Framework focuses on the Black-Box testing and can be written without application knowledge. However, public methods, templates, and events must be tested first, and most importantly it doesn’t require a 100% code coverage. Write Jest tests to do the following,
- Test a component’s public API (@api properties and methods, events)
- Test basic user interaction (clicks)
- Verify the DOM output of a component
- Verify that events fire when expected
Reference links:
https://developer.salesforce.com/docs/component-library/documentation/en/lwc/lwc.testing


