Introduction:
Contents can be stored, managed, and securely shared with anyone and anywhere all over the world using Box integration. Box for Salesforce is used for sharing and managing the files with Salesforce in a secured manner. In this article, we can learn how to integrate Box Account with Salesforce to Create and share the files/folder with people.
Box for Salesforce:
Box for Salesforce helps to share the data in a secured manner. It easily connects with other Apps to share and store the data. Box allows users to create, edit, update, and share files/folders with Salesforce. It has a highly secured authentication process and a customizable user permission to access the files/folders.
Why Box integration?
- Box integration is user-friendly, secured for data storage
- Unlimited storage for data storage
- Integrate with multiple business App (Salesforce, NetSuite, Microsoft)
- It allows user to access and manage Box content within the Salesforce
- It is flexible with the Salesforce desktop and mobile version
- It helps users to easily collaborate with team members and share the data even if they are not Salesforce users
- It supports for Salesforce Lightning and Classic
Prerequisite:
- Create one Service Account and User Account from Box App.
- Create one Salesforce Admin Account and Salesforce User Account (Salesforce licence).
Note: Box Allows only Salesforce standard User license.
Box for salesforce Setup configuration:
- Log into Salesforce org with Salesforce Admin Account
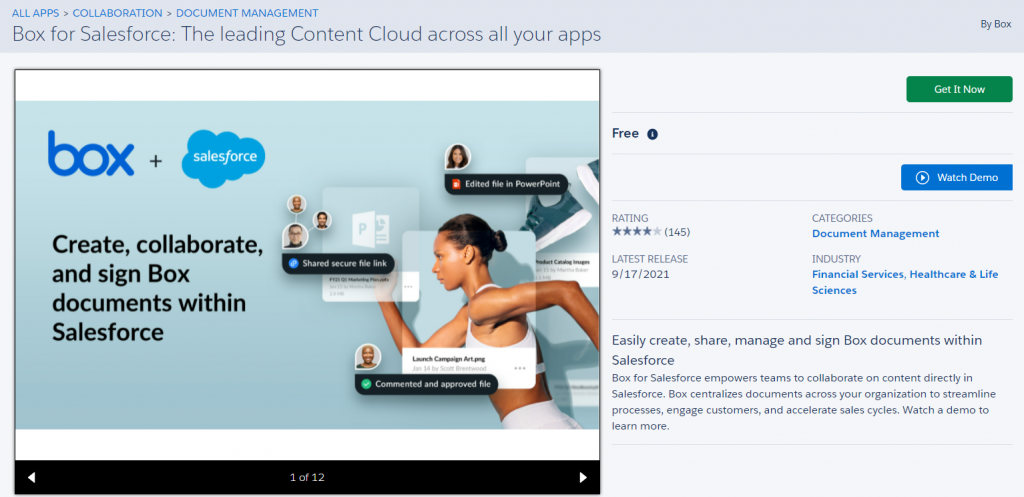
- Go to AppExchange Marketplace in setup and install Box for Integration: The leading Content Cloud across all your app package.

- Choose the environment where you need to have the Box integration and Grant access to the Third-party Access and Click Next or Continue in other screens to complete the installation.

- Go to App launcher and Search for Box setting option to finish box configuration process.

- Go to Authentication tab to configure with Box Service Account.
- Click the Connect button to authorize the Service account. It will redirect to the Box Account to grant access.

- Authorization is successfully done after granting access to Box Account.

- Go to the Content settings tab to set the Root Folder and sub domains if desired.
- Specify the Root Folder where the Salesforce content should be stored.
Note: The Root Folder cannot be editable once it is saved.
- Convert Lead Folders
- Box enterprise Sub-Domain
- Go to User permission tab for Salesforce access permission within the Box folder, by clicking the Sync Now button; it helps to have regular sync for user permission.

- Go to Seamless Login tab and it prompts the user to access Box within Salesforce.
- By enabling this feature, user can access Box Account without login every time.
- When it is in disabled mode, User should login every time when they need to access the Box in a new browsing tab.

- Box User Settings – Connect Salesforce user Account with box user Account to enable Box sign.
Setup Box functionality with Standard Salesforce object
- Box integration is available for a few Standard objects and supports both Lightning and Classic versions. It will also support for custom objects. Let us see the supporting Standard objects.
- Accounts
- Cases
- Opportunities
- Contacts
- Leads
Steps to place Box in Salesforce Lightning
In this article, we will demonstrate how to place Box component in a Contact record page. It differs based on the business requirements.
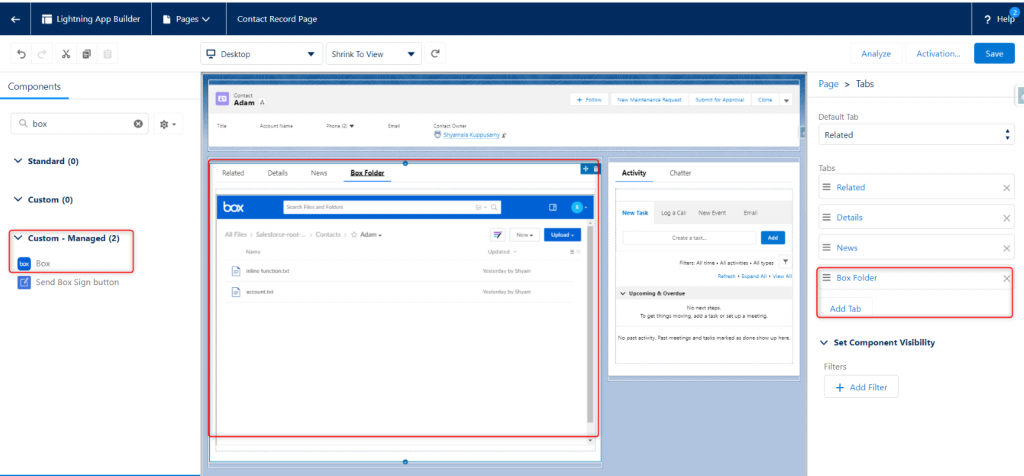
- Go to the Contact record page and click on the Gear icon to select the Edit page where the box component to be placed.
- Search the Box component under Custom Managed component heading.
- Either drag and drop the box component into canvas or create custom tab by clicking Add tab, drag the Box into that tab.
Note: It is optional to place the component under the custom tab. It may differ based on the requirement

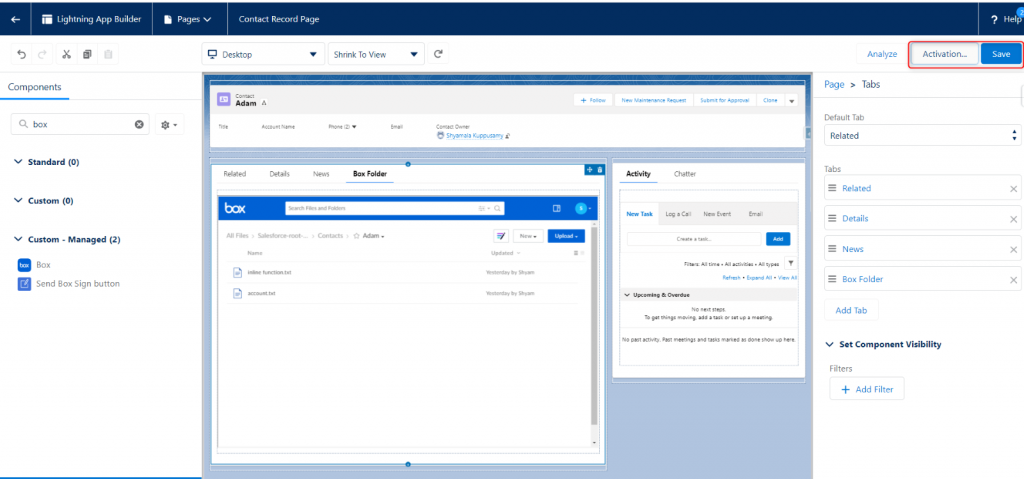
- Click Save and Activate the page and view the default app for different level.

- Go back to Contact page, select a contact record, and view the Box Folder in record page.
- Click the Create Folder button to create a record-specific folder for this Contact record in Box Folder.

- It will create new folder in specific root folder in Box. Files, folders, word document, excel formats can be created using new button and files/folders can be uploaded through Upload button.
- Log into Box account as Admin Account and check out the root folder to see the uploaded files (root folder->Salesforce_objectName_folder->record_name).

Collaborate the folder with people
- The record specific folders can be shared to people through Share button. From the right top corner, click the share button and enter the preferred emails. It allows the user to share the folder through Links. Click the Send button.
- Checkout the preferred email to view the folder, and it will redirect to the corresponding record folder in Box.


Conclusion
Box integration is used for sharing and storing the data with people and also it connects with multiple business apps. Setup configuration is straight forward; once it is done it will automatically save the data from Salesforce to Box Account. By using Box integration, usesr can share the data with others even if they are not Salesforce users.
Reference Link:
https://developer.box.com/guides/tooling/cli/quick-start/
https://support.box.com/hc/en-us/articles/360044195693-Introducing-the-Box-for-Salesforce-Integration


