INTRODUCTION
QA Complete is a Test management tool that can be used for both manual and automated Testing. It is a tool with powerful test management capabilities that allow us to track all aspects of software quality in an efficient manner. QA Complete supports all aspects of test process and ensures the delivery of high quality software.
Benefits
- QA Complete can be integrated with any number of tools
- Customizable as per the tester’s needs
- Requirements and tests can be traced to defect effectively
- Reports and Dashboards are the key features of QA Complete
Features
- Test Case Management – Simple Test Case structuring also allows for focused metrics and clear status report
- Test Environment Management – Various environments are linked to individual test cases for effective Test Coverage across different platforms, operating systems, and devices
- Defect and Issue Management – Mainly tracks the resolution process of bugs for each release and automatically creates bugs when test cases fail.
- Test Automation Integration – Can be integrated with various automation tools, and it allows us to track and report overall (manual and automated) Test Management efforts at a single place
- Bug Tracker Integration – Can be integrated with various Bug tracking tools
- Shared Documents – Stores all test documents in one central location to improve collaboration
Steps to Setup and Work on the QA Complete
To manage and produce the right test deliverables, let us assume an E-Work Sight Login Page needs to be tested manually. The following steps and screenshots will explain how we can manage the Test Deliverables using QA Complete Test Management Tool.
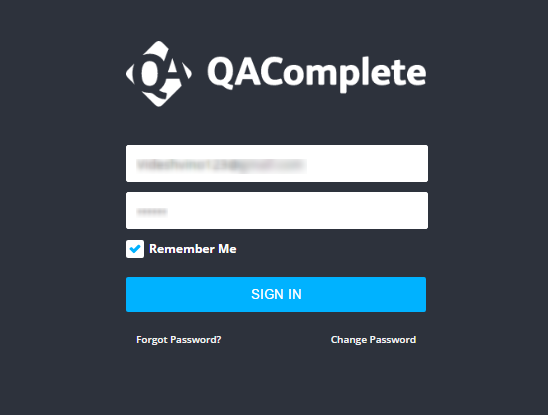
Step 1: Log into QA Complete Tool
Step 2: Create a New Release as E-Work under the Release tab by clicking the Add New icon and click the Add New Item to add an Iteration/Build
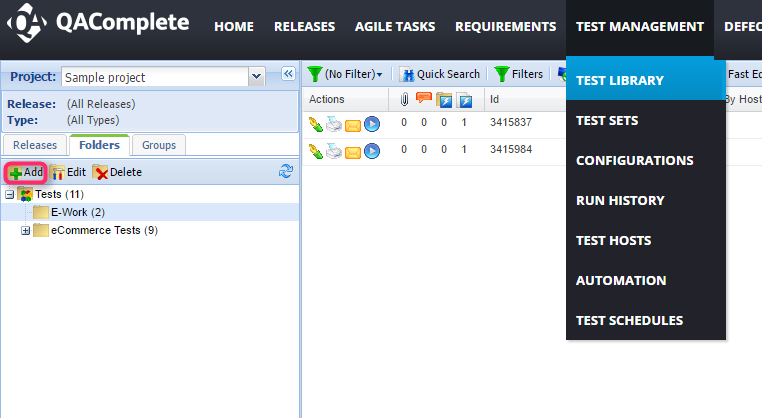
Step 3: Navigate to the Test Management Tab -> Test Library -> Add New folder
Step 4: Navigate to Test Management Tab -> Test Sets -> Create a folder (Add the ‘+’ @ left panel) -> Create a new test set using the Add New icon -> After entering the details click the Submit button -> Navigate to the Tests Tab and Design the steps accordingly


Step 5: To run the Test Sets -> Test Management Tool -> Test Sets -> Click the RUN icon

Step 6: Click the Start Run at the top right corner. Based on the working functionality, select the Run Status and click the End Run option finally.

Step 7: If any of the steps fail in a Test Set during the run, it prompts to create a defect automatically

Step 8: When the YES option is selected, a defect is created automatically

Step 9: Navigate to the Defects Tab and view the automatically created bug(s).

Synchronize the QA Complete with JIRA project Management Tool
To synchronize the QA Complete Test Management tool with the JIRA Project Management tool we must install and configure QA Complete – JIRA Connector.
QA Complete – JIRA Connector:
It is a connector to synchronize JIRA issues with QA Complete Defects or Requirements.It synchronizes the data based on the settings that are done i.e. Unidirectional synchronization/bidirectional synchronization
- Bidirectional – Any change made in one system will be updated in the other system
- Unidirectional – Changes that are made in the source system will be updated in the destination system [NOTE: Changes made in the destination system will be overwritten by the changes made later in the source system.
Below are the Steps to Synchronize QA Complete with JIRA
Step 1: Download the latest version of QA Complete – JIRA Connector

Step 2: Create a Profile for Synchronization:
Stop Services -> Manage -> Add -> Fill in the details -> Click OK


Step 3: Select the Synchronization Profile -> Manage -> Edit -> Settings -> Set the Synchronization

Step 4: Navigate to ALM/QA Complete tab and fill in the fields to establish the connection

Step 5: Navigate to the JIRA tab and establish the connection

Step 6: Navigate to the Field Mapping tab and select the desired fields to synchronize the corresponding data in JIRA

Step 7: To Start synchronizing, select “Synchronize Now” and view the result in the Synchronization Log tab.
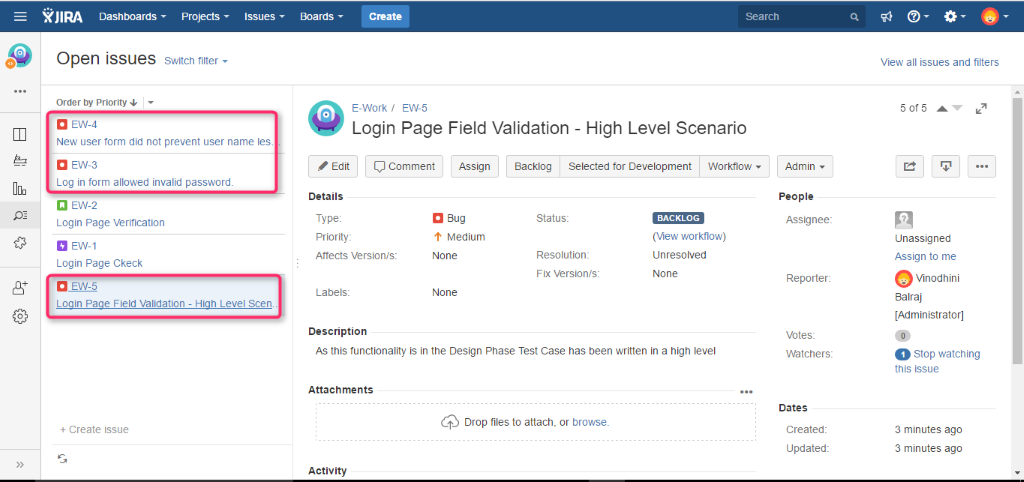
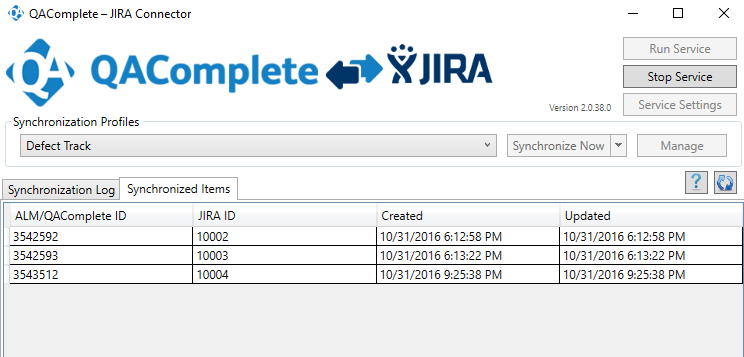
Step 8: Items that are synchronized between QA Complete and JIRA can be viewed in Synchronized Items tab.

Synced data from QA Complete to JIRA – The defects from the QA Complete are synchronized with the JIRA


Advantages:
- Defects are created automatically under the Defects section as a test step fails in a Test set.
- Automation tests can be scheduled accordingly for the next run.
- Synchronization with tools like Jira helps in providing the deliverables in the right way
Conclusion:
Thus, QA Complete Test Management tool might be of great use to the QA team in producing effective deliverables at the right time
Reference Links:


